
After having gone through the trouble of finding the right kind of tiles and choosing the best colors, you’ll want to make sure that they remain looking just as good as the time as you first bought them. That’s why it’s important to know how to install and maintain your tiles so that they don’t lose their sheen and become accumulated with dirt and grime over time.
We know how much you like to keep your space clean and tidy, so we have come up with a few pointers to show you how to securely place your tiles and clean them.
Initial installation procedures
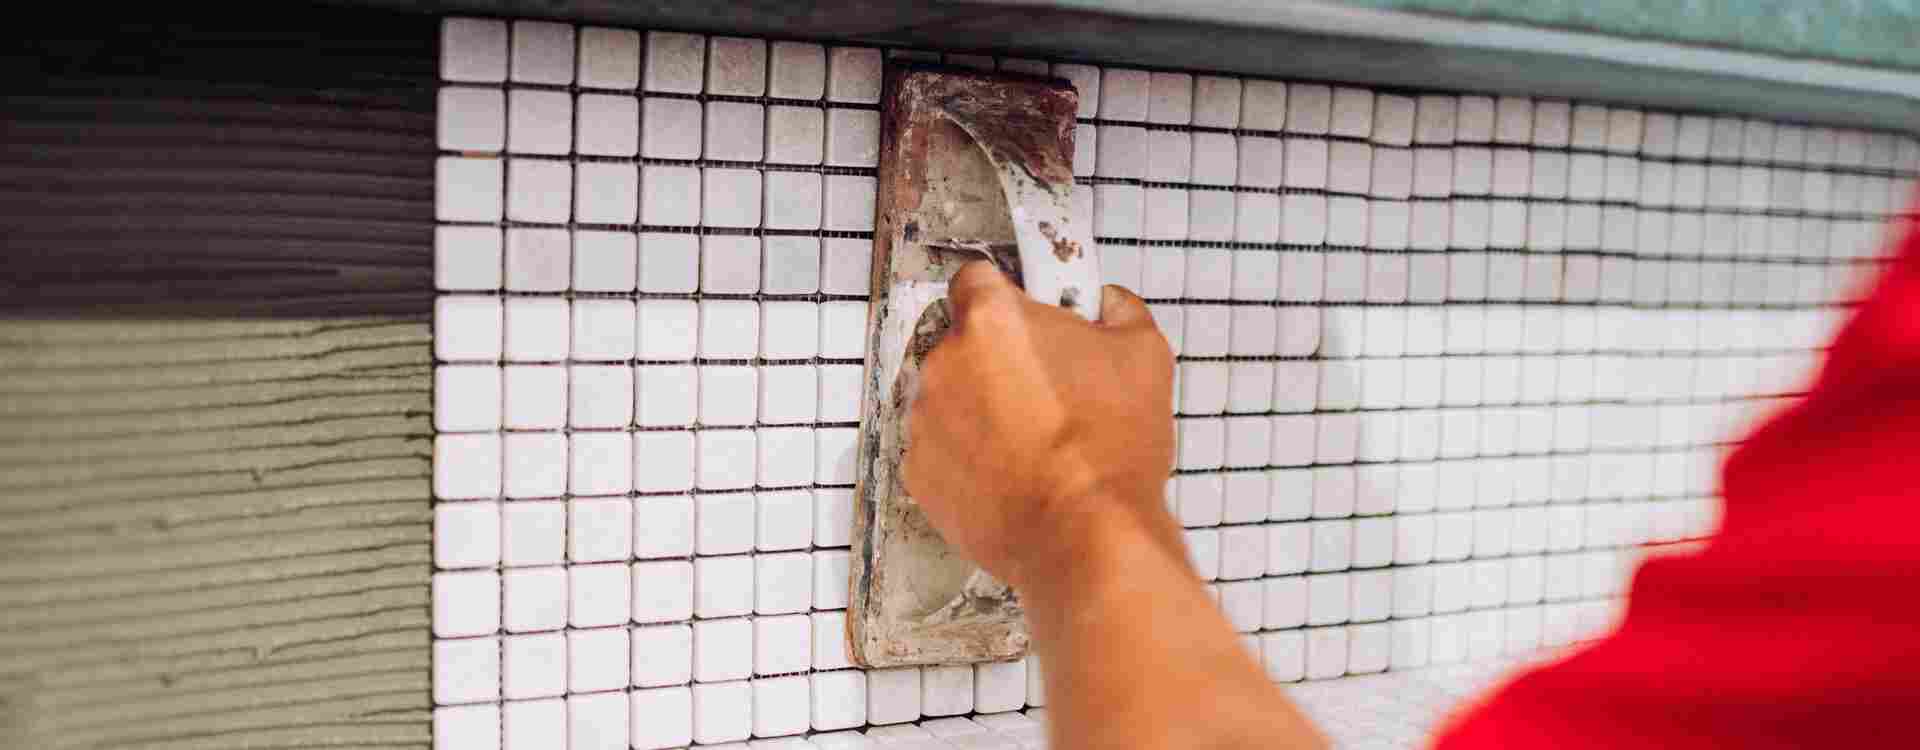
You may want to consider grouting the area where you will install the tiles because certain tiles require grouting
Make sure you first do a test spot on the surface for grouting to ensure that there are no pigmentation issues with the grout on the tile. Always commence grouting on a maximum of 10 square feet at a time. It’s also important to clean the tile surface a few times before you let the grout dry.
Keep in mind the flooring on which you will lay the tiles. The stronger the base is, the better and longer the tiles will last. Since porcelain and ceramic tiles require even floors, an existing rough flooring will need to be repaired using cement.
Make sure you know the exact route you’ll be taking around the room as you lay the tiles. Make a guide using chalk on the floor from wall to wall to find the center of the room.
Do a trial run of the installation by simply dry-laying the tiles over the floor and leaving just enough space for grout to pass through. In doing this, you’ll know the space you have to work with between the tiles and install them accordingly.
Installing the tiles
Using the guides that you made earlier using chalk, you can start the laying process from the center of the room.
- With a trowel, simply spread the thin-set using its notch. Adjust the spread accordingly, based on the size of the tile.
- You will need to place plastic spacers that will even out the grout between the tiles. Once the thin-set dries up, you can remove the spacers and clean out the excess.
- Once the tile-laying reaches the edges of the room, it will be time to accurately cut and adjust the tiles and cut accordingly.
- The last step will involve cleaning the tiles using a wet cloth or a sponge.
Tile Maintenance
With the right maintenance routine, your tile floors, walls, and countertops will look great and last for years
For porcelain tiles and ceramic tiles, simply using water or a cleaning agent should be enough to remove stains, followed by a final rinse and wipe dry. If you want to use a strong cleaning agent, make sure to use one that does not harm or blemish the texture or the look and feel of the tiles.
Make sure always do a test the cleaning agent in a small area first.
Sometimes, your tiles might be too dirty for you to clean it all yourself. That’s when you should consider leaving it to the professionals.
Remember to subscribe to our newsletter to stay informed of more guidelines, offers and news.
Recent Comments