
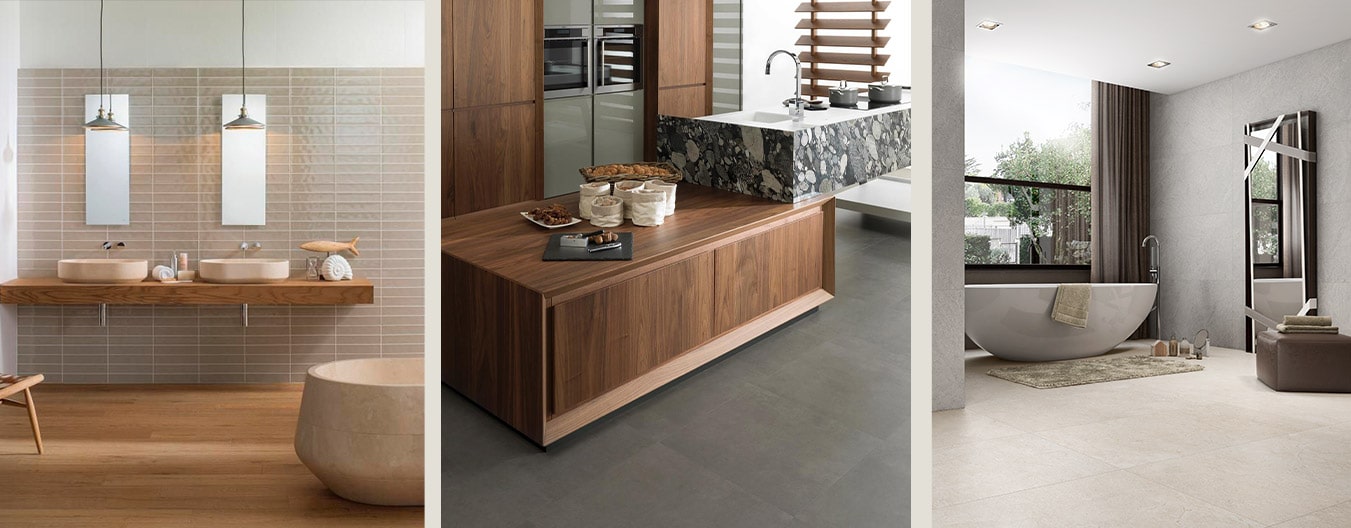
Tile Flooring is the perfect choice for any home. Not only do tiles last for generations, they’re also easy to clean, versatile enough to fit any room, water-resistant and hypoallergenic.
They come in a wide range of options, starting from ceramic, porcelain, marble, granite and vynil flooring. So there is something available to match any design aesthetic.
Another incredible benefit of tile flooring is that it is easy to install. So easy, in fact, that you could do it yourself.
Follow our comprehensive DIY guide to tile flooring and you’ll have every room in your home looking brand-new in one weekend.
What Tools You Will Need
- Safety goggles
- Dust mask
- Knee pads
- Mixing bucket and paddle
- Measuring tape
- Level
- Notched trowel
- Tile cutter or wet saw
- Tile spacers
- Grout float
- Grout sponge
- Rubber mallet
- Grout sealer
Materials For Tile Floors

- Enough tile to cover your floor + 10% just in case
- Thin-set mortar
- Grout
- Caulk
- Grout sealer
- Primer (optional)
- Tile levelers or spacers
Before You Begin

The are a few preparations to make before you can start laying down your tile flooring.
Measure and plan
get accurate measurements of your floor to ensure that you have enough materials to cover it all. Then plan your layout by putting the tiles down on the floor without adhesive the way you want them to look when you’re done. Use chalk to mark all your reference points.
Prepare the subfloor
ensure that your subfloor is clean, dry, smooth, and level. You can achieve this by installing a backer board or underlayment.
Mix the mortar
Mix your thin-set mortar ahead of time following the package instructions and set aside.
Install Your Own Tile Flooring The Easy Way
Step 1: Apply mortar
Use the notched trowel to apply the thin-set mortar at a 45-degree angle. Make sure you don’t cover too much area at once because the mortar dries quickly. Apply enough for a tile or two. Use spacers or use leveling kit while placing tiles down.
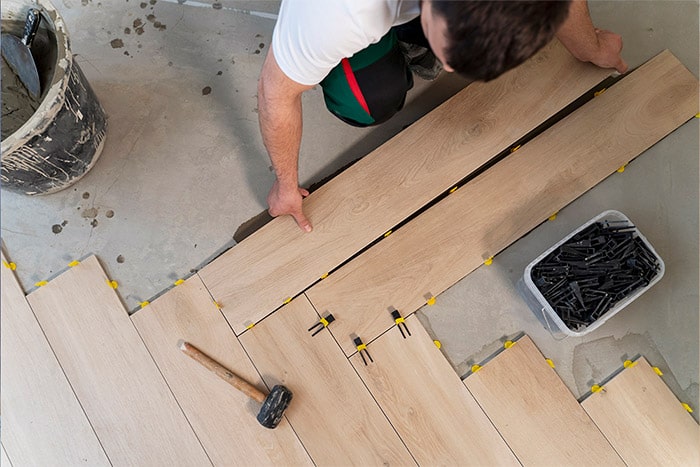
Step 2: Place tile flooring
Lay each tile down, ensuring that it makes proper contact with the mortar. Use a level to ensure that all the tiles match up and no sides are too high. Gently tap any uneven tiles with the rubber mallet to get them level. Separate the tiles with tile spacers as you lay the rest.
Step 3: Edges and corners
When you reach the corners and edges, measure and mark the pieces you will need to fill in the gaps and cover the whole floor. Use a tile cutter or wet saw to cut the tiles and follow steps 1 and 2 as you place them.
Allow the mortar to set according to the manufacturer’s specifications. Remove tile spacers once the specified time has lapsed.
Step 4: Apply Grout
Mix your grout as instructed by the manufacturer, load it onto the grout float and apply it into the gaps between the tiles at a 45-degree angle. Make sure you fill all of the seams and joints so that your tile flooring is properly set in place. As your grout sets, use a damp grout sponge to clean up any excess that’s on the tiles.
Step 5: Seal the grout
After waiting for 24 to 48 hours, you can go ahead and seal your grout. This is an optional step, but grout sealer can help maintain the appearance of the grout over time. Allow to dry as indicated on the packaging.
Step 6: Final touch-ups and cleaning
Use caulk with a nozzle attachment to fill the gaps between the tiles and the walls and door frames. Once the caulk is set, you can give the whole floor a thorough cleaning, making sure to remove any unsightly mortar, grout, or caulk.
Congratulations! You’ve just completed a tile flooring job for your home all on your own. Now you’re all set to do the rest of the house.
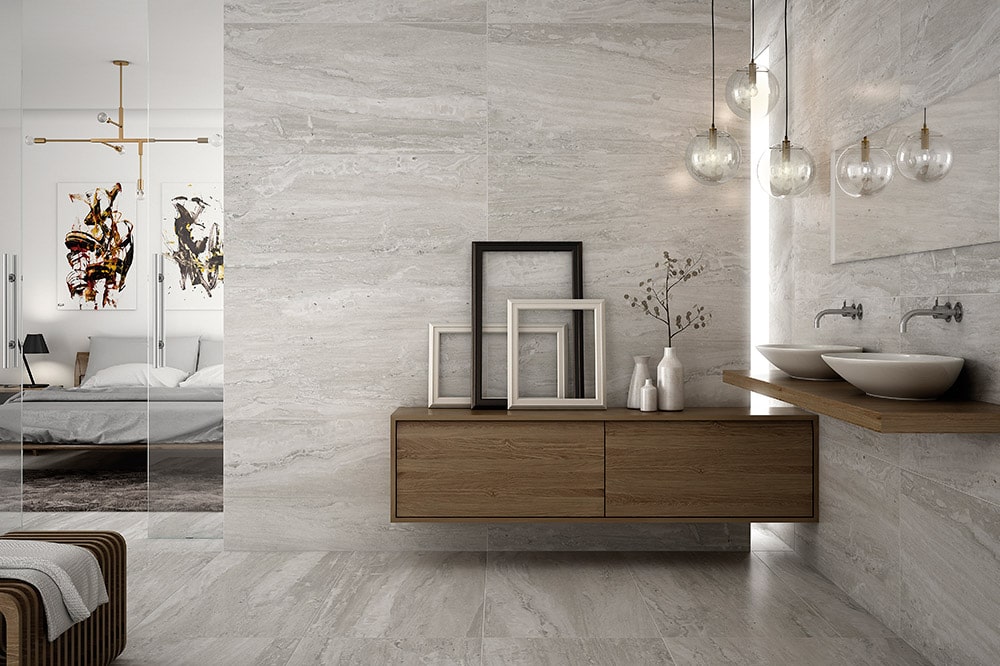
Need some inspiration for your next floor tiling job? We have an array of gorgeous, one-of-a-kind and hard-to-find floor times to elevate every room you install them in. Browse all our flooring products – there’s something for everyone to fall in love with.
Recent Comments